Chances are that when you started making homemade pizza, you learned some new tricks and tips along the way; we know we did. The biggest challenge for many home chefs new to pizza making is understanding dough fermentation. Should you ferment overnight? In a proofing box? On the counter?
These are all important factors in getting your dough just right. Along with fermentation, home pizzaiolos need to learn about pizza dough manipulation and dough hydration and how to work with a sticky, well-hydrated dough. And another new term to understand is all about how you can degas pizza dough.
Table of Contents
We know it’s confusing, and we are here to help you wrap your mind around the importance of degassing your pizza dough for the perfect pizza every time.
What is Degassing Pizza Dough?
Pizza dough starts with yeast and gluten. These two are responsible for the magic of pizza dough. When yeast is combined with flour, sugars are released, and the gluten from the flour is what makes pizza dough stretchy. Then, the process releases gas bubbles, which make the dough rise.
And while you want some gas in your pizza dough to create that chewy crust, too much can make the dough too light and form air bubbles.
Okay, so let’s take a second to think about the whole pizza dough-making process. All of these reactions, from combining the water and flour to activating the yeast, are where it all starts. And the gluten in the flour is the key to a stretchy dough.
That is why many pizzaiolos use bread flour or 00 flour because it has more gluten than all-purpose flour, and when you are making pizza, you need to be able to stretch the dough.
Of course, you can make gluten-free pizza dough and yeast-free pizza dough. But a traditional hand-tossed pizza is best with these two key components yeast and gluten. Food science really is fascinating.
How to Degas Pizza Dough
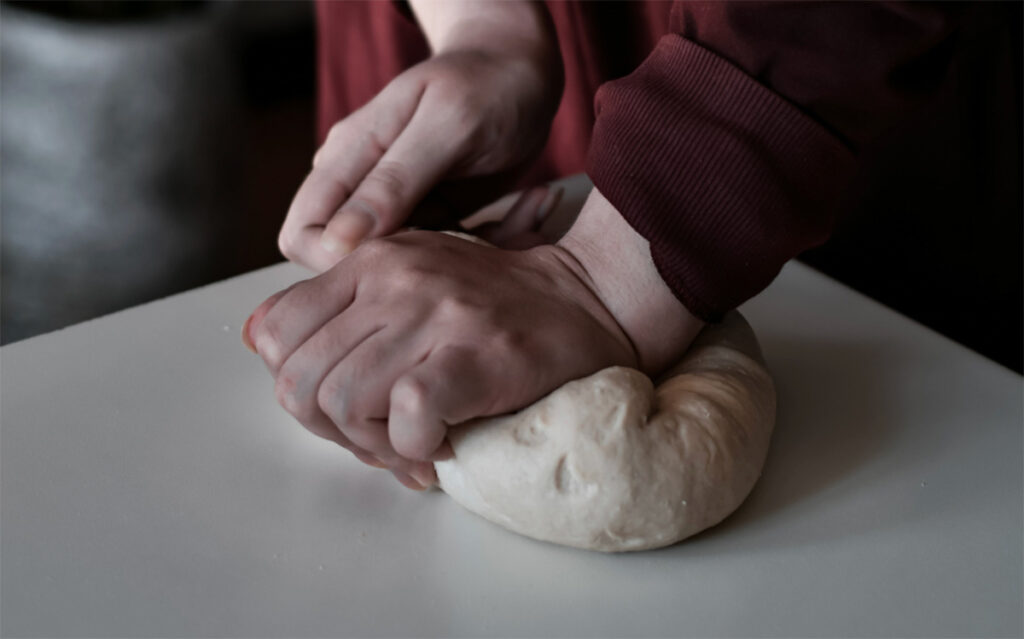
Degassing the pizza dough is the process of removing excess gas so that the pizza dough has the right amount of gas. Luckily you already have the tools you need to degas your pizza dough, your own two hands.
Some pizzaiolos refer to this as punching down the dough.
The gas bubbles make the dough rise, and after the first rise, you can literally punch the dough back down and let it rise again.
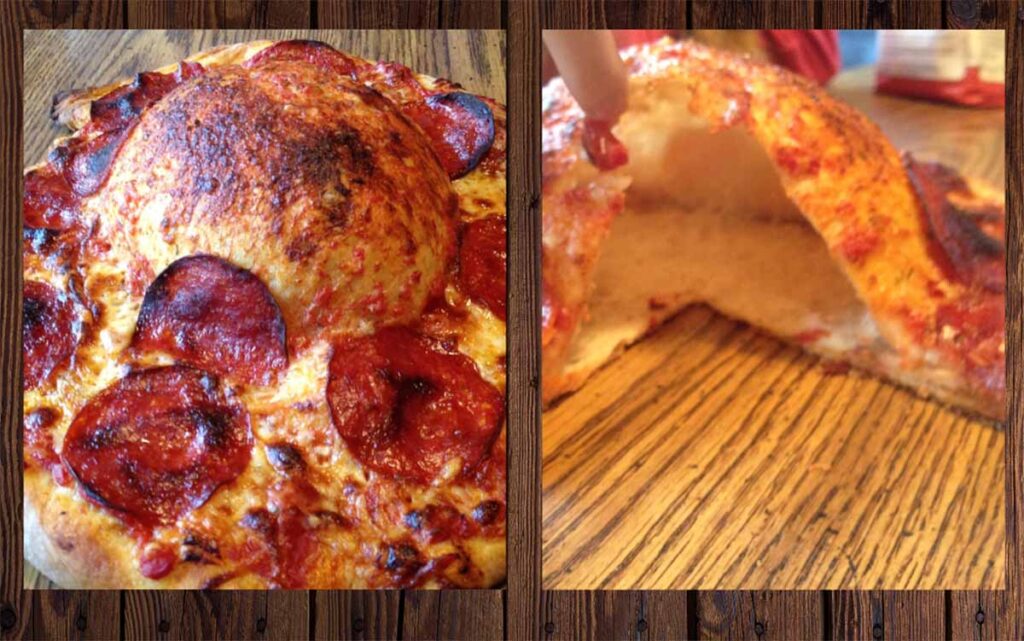
If you don’t degas your pizza dough, big air bubbles will form while cooking. Have you ever seen a giant bubble on pizza dough in the oven? They may look cool, but they aren’t doing your pizza any favors.
The irregular consistency and texture does not make for a pleasant bite of pizza. Plus, those large air bubbles can make the cheese, toppings, and sauce all slide off, so not only is your dough and crust wrong, but now all the goodies on top of your crust are going to slide off and not be evenly distributed.
When to Degas Pizza Dough
It all comes down to timing. The general rule of thumb is to wait until your dough has risen and doubled in size. The exact time it takes to do that is different based on the temperature in your kitchen, the type of yeast, and the humidity. Generally, it’s anywhere from an hour to two or three. When it is twice its original size, then it is time to degas.
If your dough does not rise, it could be because the water you added was too hot, and it killed the yeast. Every pizza dough recipe states warm water, but if you want to be accurate, you need a cooking thermometer and use water between 105 and 110º F.
If the water isn’t warm enough, it won’t activate the yeast; if it’s too hot, it will kill it. Another common cause of pizza dough failing to rise is using old yeast. Those little yeast packets sometimes get lost in crowded cupboards, so you might accidentally use expired yeast. So check your dates.
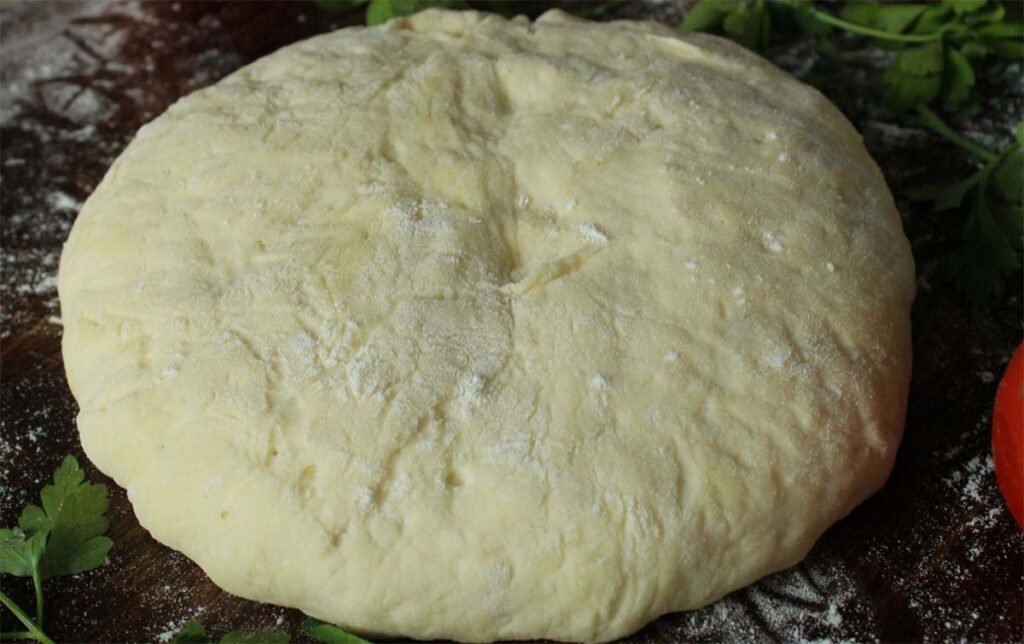
The first rise or bulk rise is crucial in making good pizza. After the dough has risen, take it out of the container and, with floured hands, push it around to get the air bubbles out. You don’t need to throw it around, but one or two minutes of the fold over onto itself should be enough.
Then let it sit for a second rise, usually another hour or two. From there, you can stretch it out to make pizza.
Tips for Degassing Pizza Dough
Consider what style of pizza you are making. If you are going for a thin crust like a Minnesota pizza or a New York-style pizza, then the degassing process is essential to get that thin crust and get the gas out.
However, if you are making a Neapolitan pizza, the gas makes contributes to the Neapolitan style crust with the unique bubbled-up sides and a thin middle, so you don’t want to degas it too much.
When degassing pizza dough, you can use the press and fold method or the stretch and fold to remove air bubbles. Some pizzaiolos even use a rolling pin to get all of the air out for a thin but dense bite.
When degassing pizza dough, don’t twist the dough. Instead, push down to remove the gas and relax the gluten.
A lot of others also recommend docking your pizza dough with a fork or pointy object by poking tiny holes. In our experience, though, any well-made dough that’s been properly worked should never have this problem.
And then there are those people who love the crispy pizza bubbles. We don’t know what to say to them. Maybe just try bread instead?
Common Mistakes in Degassing Pizza Dough
- Overworking the dough or underworking the dough. The more you make homemade pizza, the more you will get a feel for the type of crust you like and match how you degas pizza dough.
- Aggressively handling the dough. Do not take out your frustrations on the dough. Handle gently.
- Not letting the dough rest after degassing.
- Degassing the dough before it has doubled in size. If it isn’t double in size, it has nothing to release.
Do you degas your homemade pizza dough? Have you made the mistake of not degassing and ended up with those big bubbles before? We know we have. Please send bubble photos any time.

