Imagine an evening in your backyard making homemade pizzas with friends and family in your very own brick oven pizza. Sounds perfect, doesn’t it? Whdesat if we told you that you could build your own backyard pizza oven from an amazing kit?
Yep, that’s right; you can build a DIY brick pizza oven in a few simple steps. You don’t have to be an engineer or even an experienced DIY-er to embark on this project. Chicago Brick Ovens on Amazon make it easy to put together your own brick pizza oven.
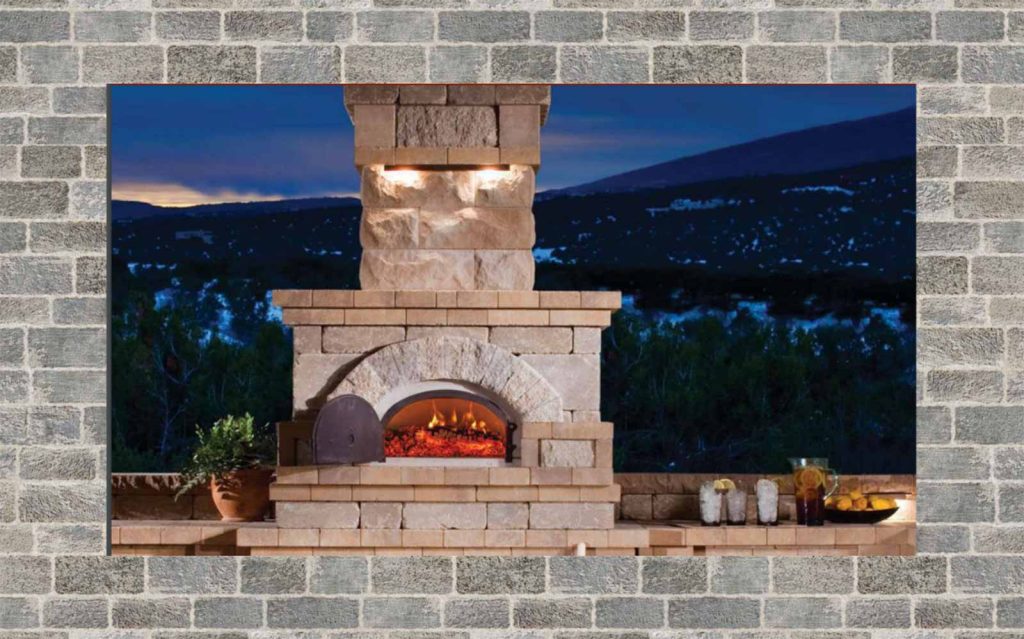
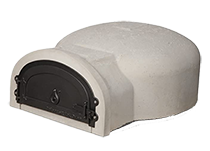
Chicago Brick Ovens are the best outdoor brick pizza ovens you can find. They are sturdy, easy to use, and come in a couple of different styles and sizes. Today, we want to focus on our favorite DIY brick pizza oven, the Chicago Brick Oven 750.
We love this kit for several reasons, including its ability to make two 12-inch pizzas at once. This kit has everything, and the dome looks cool too. If you’re looking for a brick pizza oven for an indoor or outdoor space, this kit is perfect.
Why make a DIY Brick Pizza Oven?
First, let’s talk about why you need a brick pizza oven. A wood-fired brick pizza oven is the absolute best way to make pizza. They cook at extreme temperatures, which is the only way to get a good airy crust with a crispy crunch on the outside.
If you are serious about making the absolute best homemade pizza, then you already know you need a brick pizza oven. And if you’re serious about having the best pizza in the neighborhood next National Pizza Day, build this ASAP.
Building this brick pizza oven is such a fun project. While this Chicago Brick Oven Kit provides the essential pieces, you can still let your creativity shine through with the decorative dome and other details to create a truly unique pizza oven.
Once you taste the amazing pizzas this oven makes, you will be kicking yourself that you didn’t build one sooner, trust us.
If you have been thinking about building a pizza oven but weren’t sure how to get started, save yourself the headache and just use a brick oven kit. You can thank us later over a pipping hot pizza pie. If you’re not ready to start DIY-ing, check out our list of affordable pizza ovens that are already put together.
3 Reasons to Use a DIY Brick Oven Kit
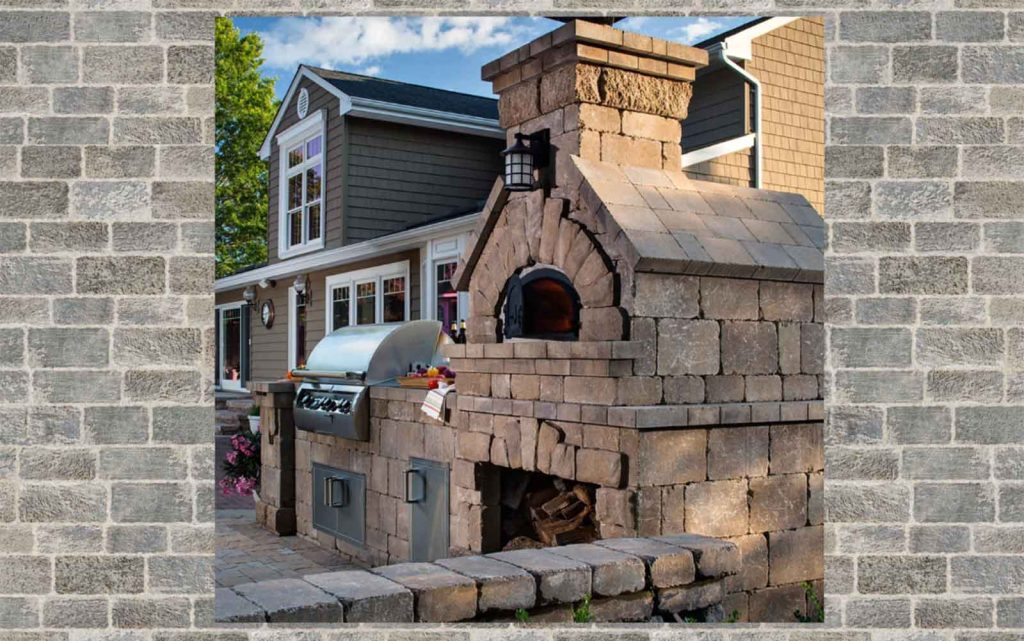
- Easy to use. Just follow the instructions.
- Simply put, safety. When dealing with fire, brick, and mortar, safety comes first.
- Save time. You don’t need to reinvent the wheel.
What’s Included in the Chicago Brick Oven Kit?
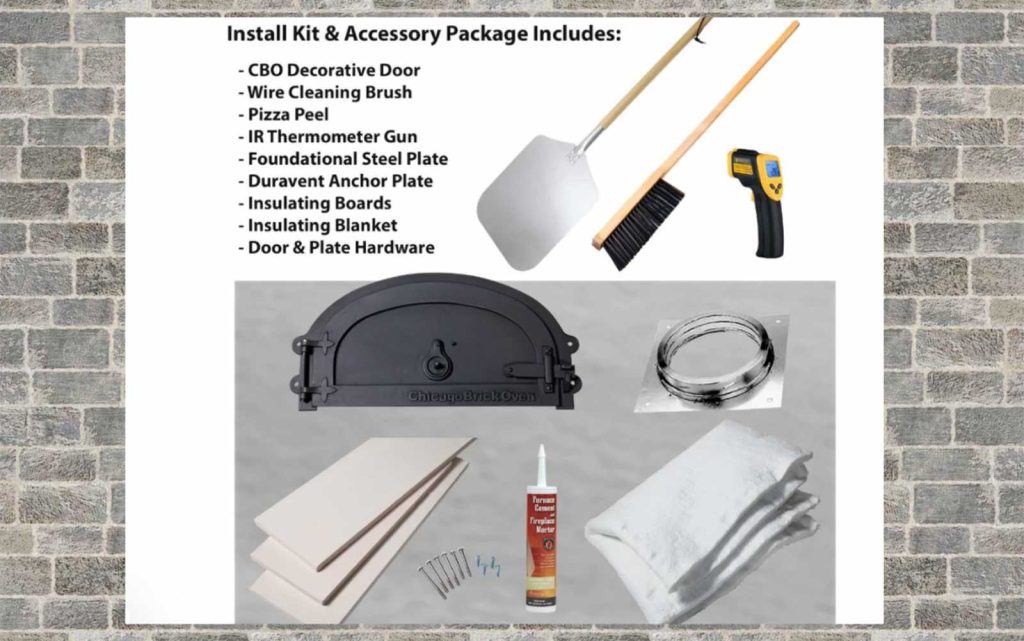
Ok, so let’s stop waxing poetic on the virtues of wood-fired pizza and focus on what the kit includes. It comes with the following:
- 6-Piece Oven (Dome, 3-Piece Hearth, Arch, CBO Decorative Door)
- Install Kit (18-Gauge Galvanized Steel Foundational Plate, Duravent Anchor Plate, Insulating Boards, Insulating Blanket, Mortar, Door and Plate Hardware)
- Accessory Package (Pizza Peel, Wire Cleaning Brush, Infrared Thermometer Heat Gun)
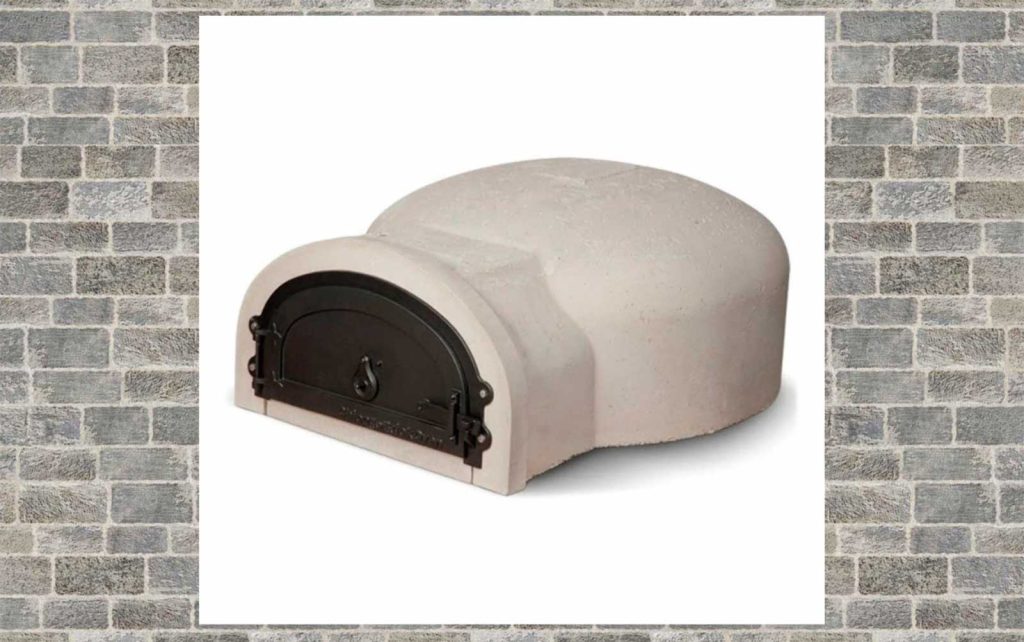
All of the key pieces are there to make your pizza oven. Of course, you need to build your own base to hold it and design your decorative dome cover. But that’s what we love about this kit: that it’s completely customizable.
You can create your backyard brick oven pizza exactly how you want it.
A literal pizza dream come true!
How to Build a Brick Pizza Oven?
Ok, so now you know why you should build a DIY brick pizza oven, but let’s get to the how. We put together a quick guide of the basic steps to get you on the road to building your own brick pizza oven.
Of course, everyone’s design and space will be different, and you should always consult the guide that comes with your kit. But we will walk you through the basic steps to get started and things to consider along the way.
Before You Get Started
Before you get started on any brick pizza oven outdoor DIY projects, you need to contact local authorities like the municipal building department or fire prevention bureau about required permits, restrictions, and installation inspections in your area.
Every location has different requirements, so it’s up to you to follow the rules to make sure your pizza oven complies. This is a crucial first step. Take the time to do this before you get started to save yourself any trouble later.
Prepare Your Space
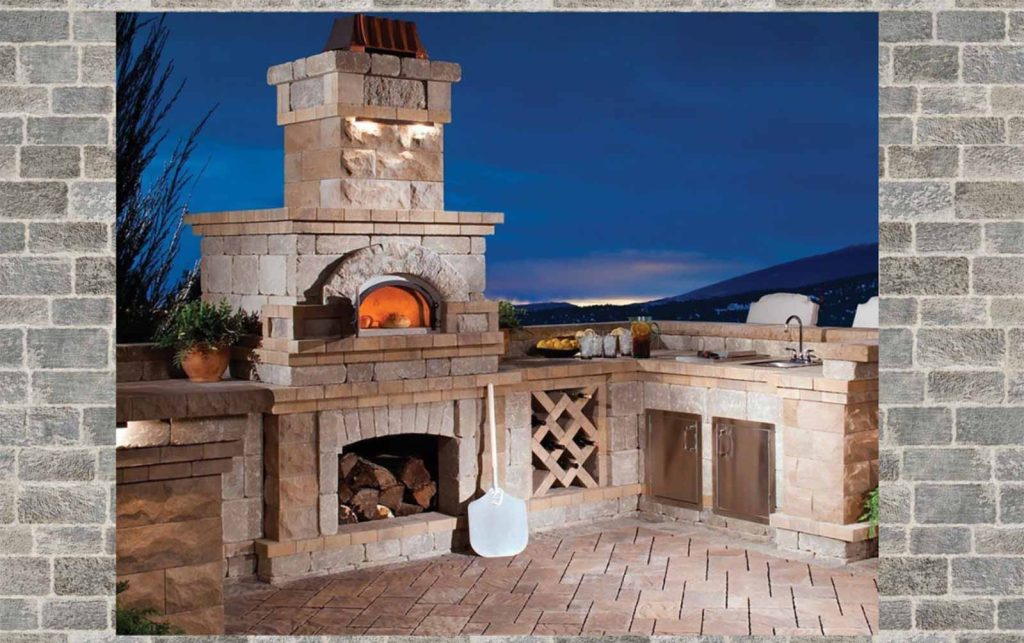
Ok, so now you know the rules and restrictions in your area, you can go to the next step, preparing the space. For the Chicago Pizza Oven 750, the clearance around the sides and back of the oven must be at least 10 inches away from combustible materials.
And the top of the oven must have at least an 18-inch clearance and the bottom a 30-inch clearance from combustible materials. This may seem like a no-brainer but always measure for safety.
The clearance around the door opening must have a minimum 30-inch clearance from combustible materials and 36 inches from the front of the door opening. According to Chicago Brick Ovens, a hearth extension may be required to meet these clearance requirements.
And the clearance from the wood storage area must be a 7-inch clearance between the bottom insulation boards of the oven and any wood storage areas that are under the oven. CBO recommends that you incorporate a noncombustible physical barrier or some other indicator of the distance within the wood storage area.
These measurements should help you decide on the best and most practical spot for your oven. And we can’t stress this enough, when building the chimney, refer to your local building code standards.
Build the Base
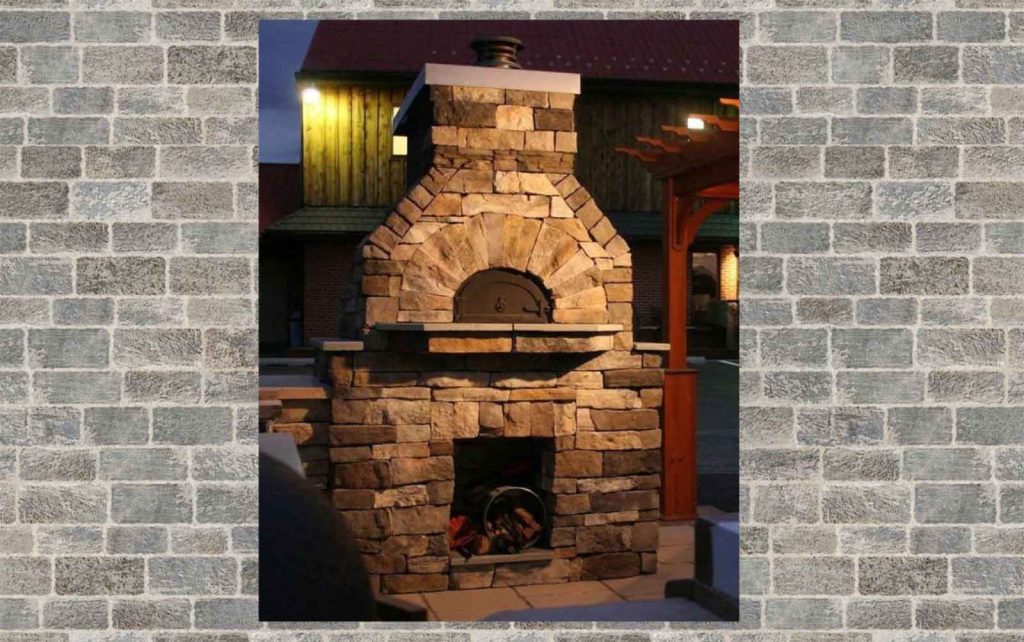
Ok, so before you can get the oven in, you need to build the base. Think of it like a durable table to put the oven on. You will need to use sturdy, non-combustible material to construct the base. The base needs to be flat, level, and strong enough to hold the weight of the oven and the decorative cover.
According to the Chicago Brick Oven’s website, the CBO-750 Oven support base must be constructed of masonry or metal and have at least the same area dimensions as the external footprint of the oven.
You must check with your local building department to determine the amount of clearance required by local building codes between the oven and decorative cover.
CBO recommends you add at least 8 inches for the width (4 inches per side) and 5 inches for the depth (on the back side of the oven) to accommodate the decorative cover and insulation.
While the kit comes with the essentials for the actual oven, the base needs to be constructed, and that part is up to you.
We put together a short list of some of the tools and materials you will need to build the base for your DIY pizza oven outdoor. The list is just a guide and you could probably borrow some from a friend. Depending on your design, you may need additional things:
- Buckets to mix the mortar
- Mixer drill with a paddle attachment
- Handheld circular saw that can cut brick and stones
- Hammer and chisel
- Vent piping and cap
- Wire brush
- Concrete or mortar
- High-temperature mortar or fireclay mortar
- Bricks
- Fire bricks
- Roof underlayment
- Roofing sealant
- Vermiculite
- Rebar mesh
- Gravel
When planning a project like this, you should take a few things into consideration. If you are new to DIY, it may take you longer than expected to complete, but that’s ok. It’s not a race. In addition, some things are out of your control.
For example, you will need to allow time for masonry to dry, and that will vary on climate and season. We suggest researching the style of base you want for material prices and availability. Then, make sure you have all of the tools you will need.
Think of it like mise en place (everything in its place) like you would for cooking. Before you make a pizza, you set out all of the ingredients and tools you need. You don’t want to be searching through the kitchen for the cheese grater after you have spread sauce on your pizza. Feel free to reference our best cheese graters.
Once you have your plan and materials then, you can budget your time. Our rule of thumb is to double what we think it will take us so then we are pleasantly surprised when we finish sooner. Here’s a glimpse at a time-lapse of how to build an outdoor pizza oven step by step building process in just 4 minutes:
Curing Your DIY Brick Pizza Oven
Ok, so you followed the instructions and built your base, installed the hardware, and now your oven is complete, but before you start actually making pizza, you need to cure your oven.
Curing is the drying process and will take a couple of days to completely cure the oven. Chicago Brick Ovens recommends building a fire in another location, taking the coals, and placing those in your outdoor brick pizza oven.
Ideally, you want a slow, steady heat to cure and dry up any remaining moisture. This curing process should be conducted at a temperature as close to 212°F as possible over a couple of days.
Get Ready to Fire Up
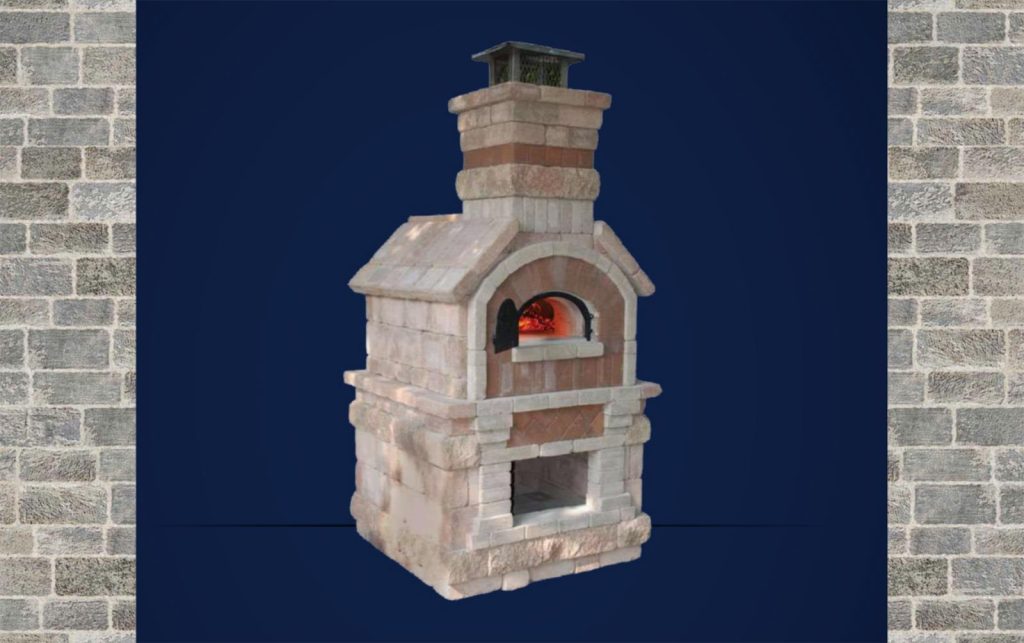
You are now ready to make pizza. If you are new to making wood-fired pizza, there is a learning curve to it. It may take you some time to get all of the moving parts right.
It’s not complicated, but you will want to do a few test runs before you invite family and friends over for a pizza party. You will need to play with temperature, which is why it’s so important to have a non contact infrared thermometer.
Then, you will need to practice using a pizza peel. If you are new to pizza peels, they are an important pizza accessory to master. The most common problem is the pizza sticking to the peel, so you have to practice that little jiggle pizzaiolos do to slide it into the oven.
You will need to see what the pizza looks like at 60 seconds and 90 seconds to see which gives the right charr to your crust.
Then comes the hard part getting it out of the oven. Again practice makes perfect. We suggest some heat-resistant gloves. They are a good investment while you are mastering your new easy DIY pizza oven.
Do not get discouraged. Pizza is an art, and every pizzaiolo had to learn all these steps before mastering the art. So be patient with yourself and have fun learning the best way to use your new pizza oven.
Frequently Asked Questions about a DIY Brick Pizza Oven
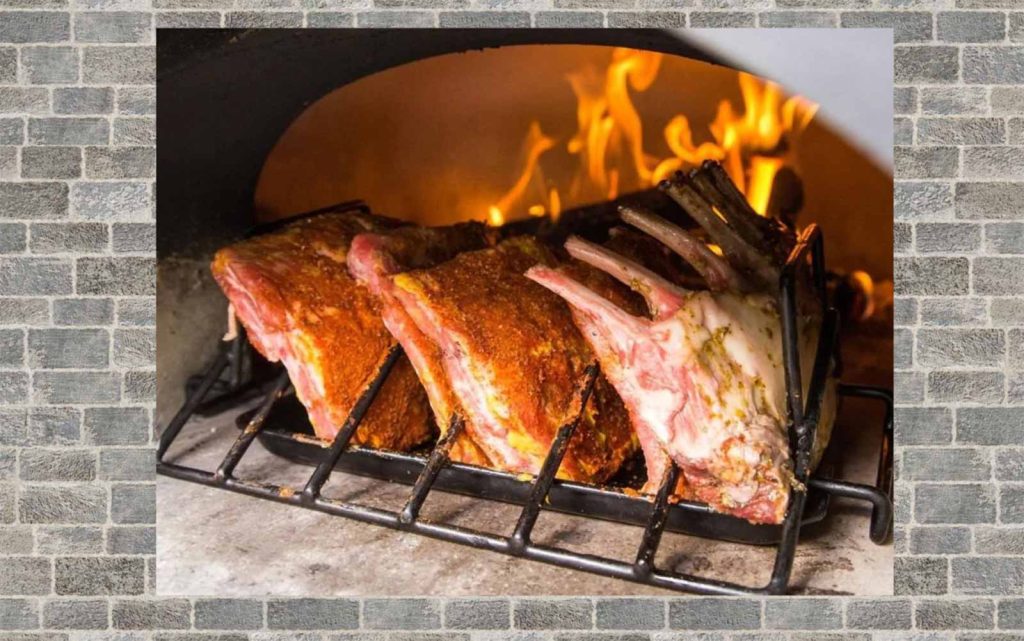
What can I cook besides pizza?
You can cook just about anything you can think of, from meats to bread to desserts. The only rule is not to let any moisture get on the hearth or dome. So if you are cooking a steak on a grill grate, you need a pan to catch the drippings. Or just cook them on a baking sheet to avoid drippings.
How to turn off the oven?
Just let the fire burn down, and it will slowly shut down. When the temperature goes down to 200° F, close the doors and let it finish cooling down.
Can I use a wood fired pizza oven in the winter or in the rain?
Yes, you can use it in any weather. We even wrote a post about using a pizza oven in winter months. Keep in mind when choosing the design and material the oven needs to keep moisture out to prevent any cracks or damage. You should also look into a pizza oven cover if it would fit.
How long does the oven take to heat up?
Once you have a small fire going and are feeding it, your DIY brick pizza oven should only take about an hour to fully heat up. Then, you can cook for several hours and make as many pizzas as your heart desires.
Is this safe to use around children?
It’s as safe as any BBQ or grill. The outside of the oven will be hot, depending on the type of insulation and material. Take that into consideration when you choose your materials.
Can I burn any wood in the oven?
No, you can’t. This DIY brick pizza oven is designed for burning solid, dried wood only. You can’t burn scrap wood, compressed logs, coal, or other materials. If you do burn these, it can damage your oven and void your warranty. And last but not least, wrong wood could destroy the flavor of your food.
Can I use flavored wood?
Absolutely. Flavored woods like alder, apple, apricot, cherry, grape, hickory, lemon, maple, mesquite, nectarine, orange, peach, and pear are great options.
Summary Steps to Building Your DIY Brick Pizza Oven
- Consult local authorities for restrictions and permits.
- Choose your exact location and measure carefully.
- Choose your design.
- Gather materials.
- Follow instructions.
- Cure oven.
- Master the art of using a DIY brick pizza oven in your own backyard.
So now you know everything there is to know about making DIY brick pizza ovens. Don’t waste any more time living a life in your house without a brick pizza oven. Buy your DIY pizza oven starter kit now and learn how to build a pizza oven today.
After you get your brick pizza oven built, don’t forget to invest in a classic neon pizza sign to accompany your sweet new space.
And we would love to see the photos of your finished project or even the entire process of building a brick oven. We love all your creative pizza ovens equally!

